How to transfer iTunes library to a new macbook

For Apple device users, it is a little complicated to transfer iTunes library to a new Mac. It often takes a few complex steps to make it work. Here I would like to recommend you an easy way to transfer iTunes library to new macbook.
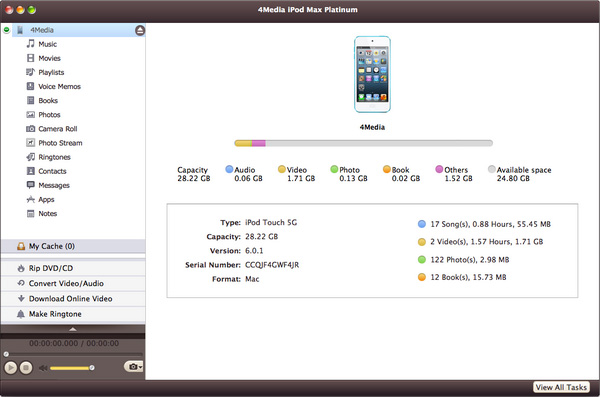
First, download, install and run 4Media iPod Max for Mac, then connect your iPod to Mac, then the application recognizes it automatically and displays its device information on the first interface.
Tip: The program supports connecting up to 26 iPods and one iPod touch at the same time.
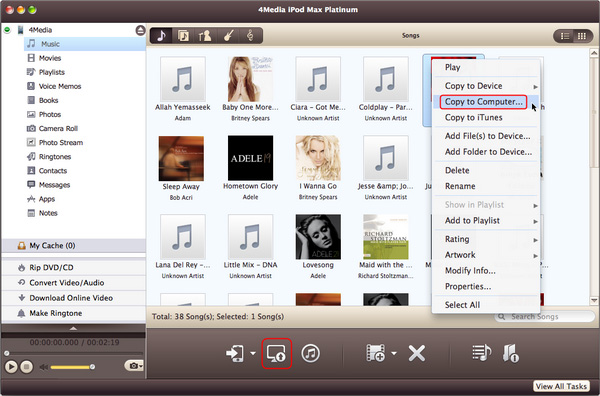
Step 2: Click "Export Checked Files to Local Folder" drop-down button, then choose "Export to Local" option, then select the folder for saving the checked files in the dialog that opens to start exporting.
Tip: You can also right click the checked files, and choose "Export to Local" option to start exporting the files to the folder you want.
With 4Media iPod Max for Mac, you can not only transfer iTunes library to a new macbook, but also transfer video, DVD, audio and photo etc. from Mac to iPod. Otherwise, it is possible to transfer iPod files to Mac. Just enjoy it!
How to transfer iTunes library to a new Mac by other methods?
Answer 1
1. On the new Mac, authorize your iTunes account
2. Copy your entire iTunes folder from the old computer to the new Mac. Make sure iTunes is not running on the new machine. You can do this in 100 different ways. You can even use your ipod as a disk and copy the files to it and then move them to the new Mac. I just mounted my PC over wireless and copied everything. Put them in the iTunes folder on the new Mac.
3. On the old machine, go into iTunes and "Export Library". On my PC, this created a file named "Library.xml". Copy this file to your new Mac. This is how you get all your playlists.
4. Launch iTunes on the new Mac. You probably won't see any music. Don't worry.
5. On the new Mac, pick Import in iTunes and import the Library.xml file.
6. Wait for iTunes to do its thing. Presto, all music and all play lists. Life is good.
Answer 2
Transfer your iTunes library to the new Mac with the Migration Assistant. When you first fire up a Mac and it asks if you want to move your data, that’s one chance, but you can also set up the new Mac as pristinely new and use Migration Assistant later. Just launch it from the Utilities folder and tell it what you want to do—you can transfer your library over Wi-Fi, but if both Macs have a FireWire port, it’s much faster to connect them that way and use Target Disk Mode. (Start up the old Mac holding down T, which mounts it as an external drive on the new Mac for Migration Assistant to mine—but Migration Assistant walks you through the whole process.) Migration Assistant doesn’t have a setting specifically for iTunes, but if you migrate your user account’s Music folder, that’ll contain both your media and your library database, which stores those preferences you want to transfer.