4Media Blu-ray to Video Converter Tutorial
Here we will show you how to convert a blu-ray disc to high-definition or general video files or even 3D videos you want with 4Media Blu-ray to Video Converter step by step. Here you can also check how to clip and edit video effects while processing Blu-ray converting.
This article includes 5 parts.
Part 1: Getting Started
Part 2: 3D Video Conversion
Part 3: Clip Video Segments
Part 4: Add and Edit Video Effects
Part 5: More Applied Functions
Firstly, download 4Media Blu-ray to Video Converter and then install and run it.
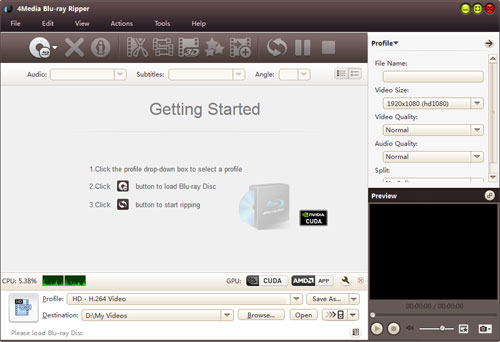
Step 1: Install and run the software
After installation, run the software. You can see the main interface as below.
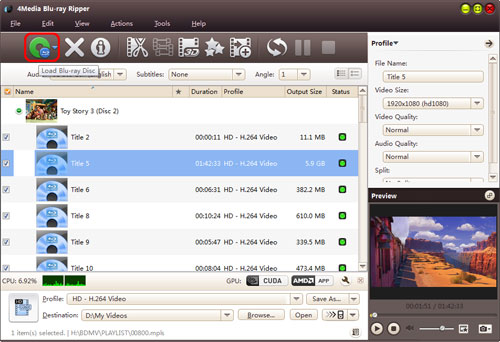
Step 2: Add Blu-ray disc
Click "Load Blu-ray Disc" button on the toolbar or select "File> Load Blu-ray Disc" on the main menu to load files.
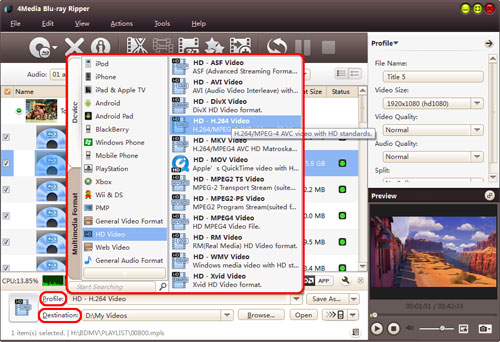
Step 3: Set output Settings
Select the files need to be converted and click "Profile" button to select the output format in the drop-down list. Then click "Browse…" button to specify destination folder for saving output files.
Tips:
1. We provide abundant profiles compatible with various popular devices. Especially all-around HD video formats are supported.
2. Many options for you to choose. The "Recently Used" option can record your recent usages automatically and it is convenient to use them again.
3. Search for the wanted profile quickly by entering the profile keyword in "Start Searching" textbox of the profile list.
4. To merge multiple files into a single one, please select all files needed to merge in the file list and click "Merge" button on the toolbar, then all the selected files will be merged into one file and added to the file list.
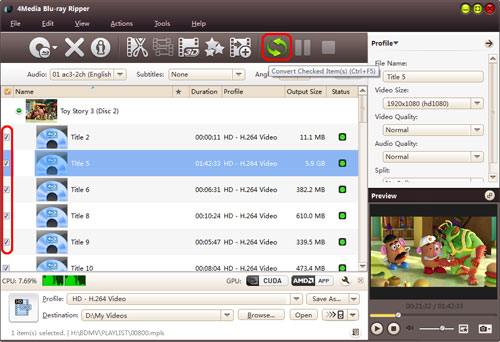
Step 4: Convert Blu-ray movies
After selected output profile, you only need to check the files you want to convert in the file list and click "Convert Checked Item(s)" button on the toolbar to complete the task.
Ok, the above is the simplest function in conversion. We provide you more functions as below!
Choose the file you want to convert in the file list, and Click 3D Conversion button on the toolbar to enter 3D Conversion window.
1. 2D to 3D

You can convert 2D standard videos to 3D videos, and watch it on TV.

1. Click 2D to 3D button to open settings interface.
2. Click Anaglyph (Red/Cyan), Side by Side, Side by Side (Half-Width), Top and Bottom or Top and Bottom (Half-Height) under the preview area, select an output mode.
Tips:
(1) You can drag the 3D Depth control slider to set the depth.
(2) Check the Swap L/R Image option, you can switch left and right eye's image.
2. 3D to 3D

4Media Blu-ray Converter supports conversion between different 3D video format.
1. Click 3D to 3D button to open settings interface.
2. Click Side by Side or Top and Bottom under the preview area, select a output mode.
Tip: Check the Swap L/R Image option, you can switch left and right eye's image.
3. Click Finish to return to the main window.
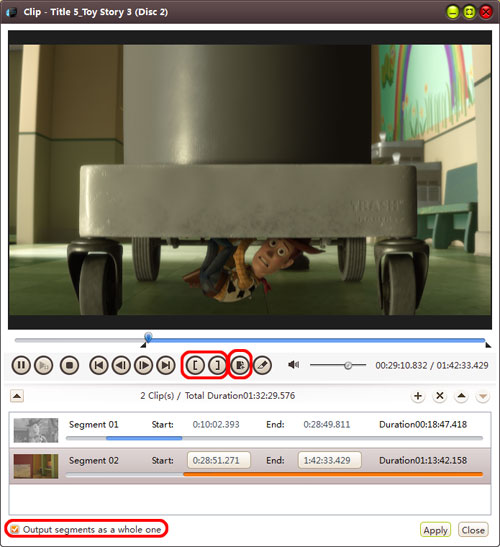
At first, choose the video file you want to clip. Then click "Clip" button on the toolbar to enter "Clip" window. Set the start & end point to get the partial segment and repeat the action to get several segments at will. After clipping, check the "Output segments as a whole one" option and merge the segments in the list into one file. And then click "Move Up" or "Move Down" button to specify the sequence of these segments.
Part 4: Add and Edit Video Effects
Firstly, choose the video you want to edit, and then click "Effects" button on the toolbar to enter "Effects" window.
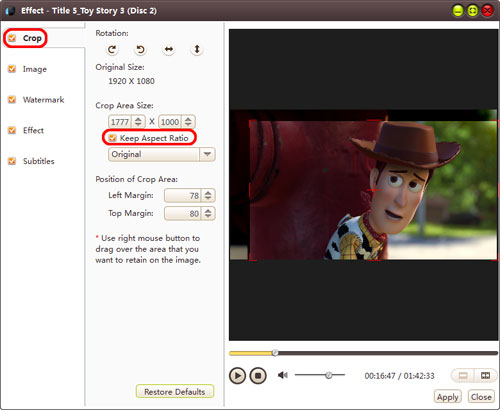
1. Crop the video screen size
On "Crop" tab, enter height, width, left margin and top margin values to set the size and the position of the crop area. You can also adjust the crop area size and position by dragging the resizable handle and frame.
Besides, you can also check "Keep Aspect Ratio" option and choose the aspect ratio from the drop-down list. Click "Restore Defaults" to restore all settings to default, and preview the real-time effect in preview window on the right.
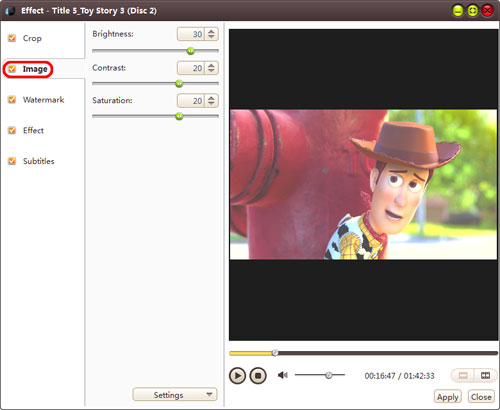
2.Edit video image
On "Image" tab, enter the value of the brightness/contrast/saturation in corresponding textboxes to set the video image's brightness/contrast/saturation.
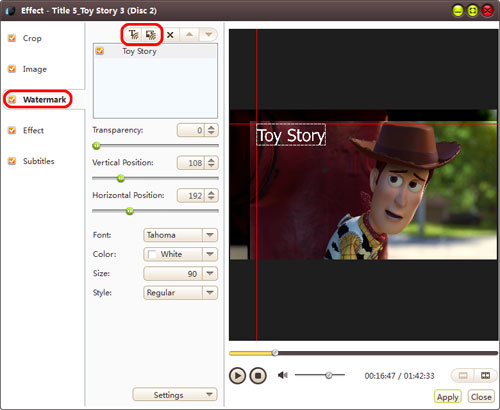
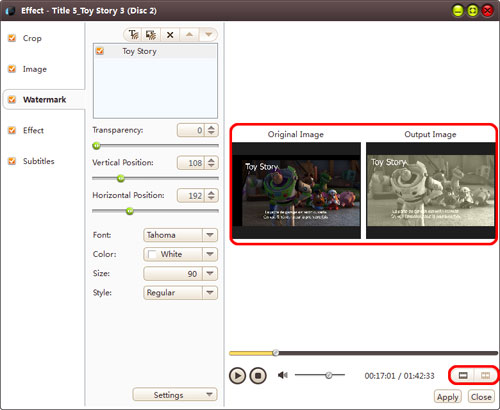
3. Add watermarks to video
In "Watermark" tab, click "Add Text Watermark" or "Add Picture Watermark" button to import watermarks into the watermark list. Select a watermark and set its transparency, vertical position, horizontal position, font, color, size or style .
Tip: You can add multiple picture and text watermarks into one video simultaneously.
4. Add Effect to video
In "Effect" tab, choose one or more effects for the output video from the effect list.

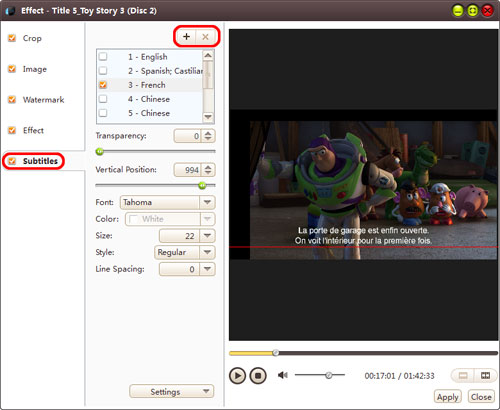
5. Add and adjust subtitle to video
In "Subtitle" tab, click "Add Subtitles" button to load the desired subtitles into the list. Then select a subtitle from the list and adjust its transparency, vertical position, font, color, size, style and line spacing at will.
6. Compare the edited video with the source one
Click "Comparing Preview" button on the right preview panel to compare the edited file with the source.
Part 5: More Applied Functions
1. Add profiles for the same video file
Select the video and click "Add Output Profile" button to set multiple output formats for one file simultaneously. You can get different video formats for various digital players after conversion.
2. Gain exact video file size using bitrate calculator
To custom output size, select the video file and click "Tools > Bitrate Calculator" and input value to get exact video size.
3. Divers parameters for you to choose
Firstly, click "Tools > Preferences" to set various parameters such as amount of running processed, action "After Done" and etc.
You can also click the "show advanced profile settings" button on the top right panel and adjust various video/audio parameters for more needs.
Check out more tips on how to convert blu ray movies below:
- How to convert Blu Ray to AVI
- How to Convert Blu Ray disc to WMV
- How to convert Blu Ray to iPod
- How to Convert Blu-ray disc to DVD
- How to convert Blu Ray to PS3

Featured Guides
Guides Categories
Video/Audio Guides
- 4Media Audio Converter Pro Tutorial
- 4Media Movie Editor 6 Tutorial
- Video Converter Ultimate Tutorial
- How to convert DAT to other videos
DVD/CD/Blu-Ray Guides
- 4Media Blu Ray Converter for Mac Tutorial
- How to convert Blu-ray disc to video files
- How to burn AVI, MPEG, VOB, DAT, M2V, MPG to DVD on Mac
- How to burn DivX to DVD on Mac
iPod Guides
- 4Media iPod Max Guide
- How to convert AVI, MPEG to iPod MP4 format
- Guide: 4Media iPod to PC Transfer
- How to convert DVD to iPod on Mac
iPhone Guides
- 4Media iPhone Contacts Transfer for Mac Tutorial
- 4Media iPhone Contacts Transfer Tutorial
- 4Media iPhone Ringtone Maker for Mac Tutorial
- 4Media iPhone Max Guide
iPad Guides
Youtube/Online Video Guides
- 4Media Online Video Converter for Mac Guide
- 4Media Online Video Downloader for Mac Guide
- 4Media Online Video Converter Guide
- 4Media Online Video Downloader Guide
PPT/PDF Guides
Others
Articles
- How to download YouTube videos for free
- How to download/convert YouTube videos to iPod
- How to download and convert YouTube videos
- All features of apple iPhone
- Now you can get more TV offerings from Apple iTunes
- Video Streamer HAVA from Snappy Multimedia
- iPod Growth Driving Demand for Flash Memory
- MediaMan HVX-3500 Review
- Uncertain whether new iPod will be delayed or not because of hurdles
- T3's top five iPod alternatives
- Envivio Exhibits MPEG-4 Solutions from Mobile to HD at CCBN2006